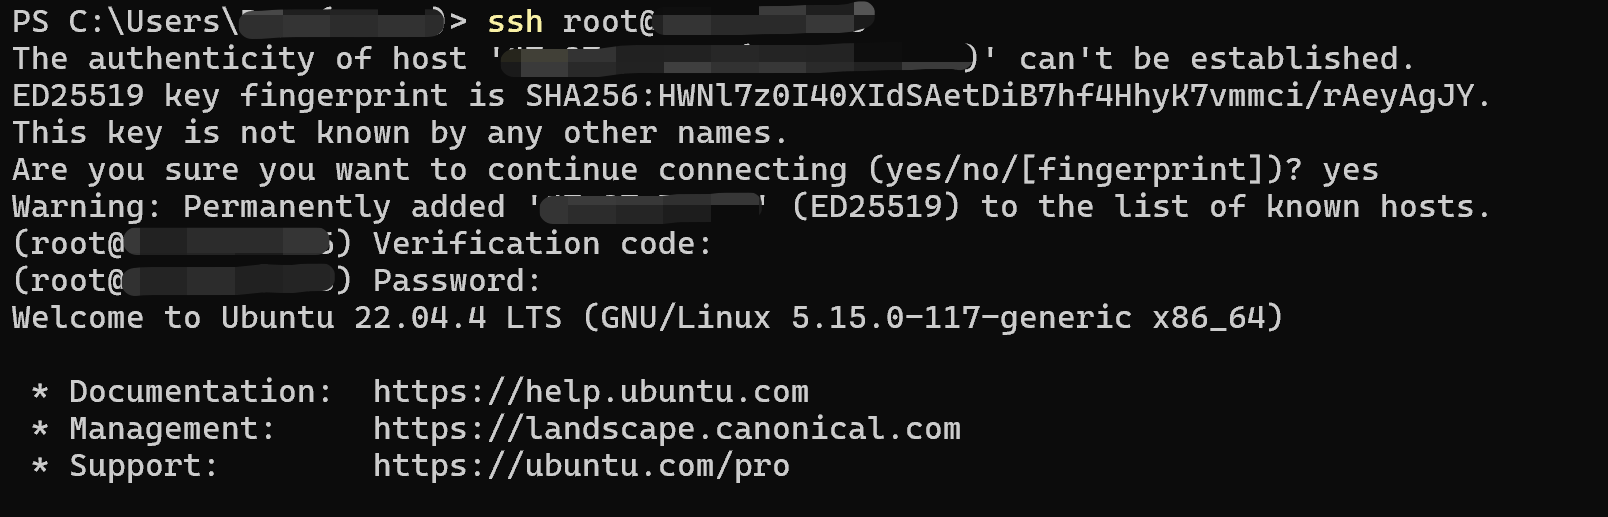
This guide explains how to set up Google Authenticator for Two-Factor Authentication (2FA) on a Linux server for SSH logon.
Prerequisites
- A Linux server (Ubuntu/Debian/CentOS, etc.)
- SSH access to the server
- A smartphone with the Google Authenticator app installed
Steps
1. Install Google Authenticator PAM Module
For Ubuntu/Debian-based systems:
sudo apt update |
For CentOS/RHEL-based systems:
sudo yum install epel-release |
2. Configure the PAM (Pluggable Authentication Modules)
Edit the PAM configuration file for SSH:
sudo vim /etc/pam.d/sshd |
Add the following line to the file:
auth required pam_google_authenticator.so |
3. Configure SSHD to Allow PAM Authentication
Edit the SSH configuration file:
sudo vim /etc/ssh/sshd_config |
Make sure the following settings are configured:
-
ChallengeResponseAuthentication should be set to
yes:ChallengeResponseAuthentication yes
-
UsePAM should be set to
yes:UsePAM yes
4. Restart the SSH Service
After modifying the SSH and PAM configuration files, restart the SSH service for the changes to take effect:
sudo systemctl restart sshd |
5. Set Up Google Authenticator for Your User
Run the following command as the user you want to set up 2FA for:
google-authenticator |
This will trigger a series of prompts:
- Do you want authentication tokens to be time-based? (Yes)
- Do you want to update your "~/.google_authenticator" file? (Yes)
- Do you want me to disallow multiple uses of the same token? (Yes)
- Do you want to increase the verification time window? (Yes)
It will then generate a QR code and show secret keys. Scan the QR code with the Google Authenticator app on your smartphone.
6. Testing the Setup
To test, open a new SSH session and log in. You will be prompted for:
- Your regular password.
- A verification code from your Google Authenticator app.